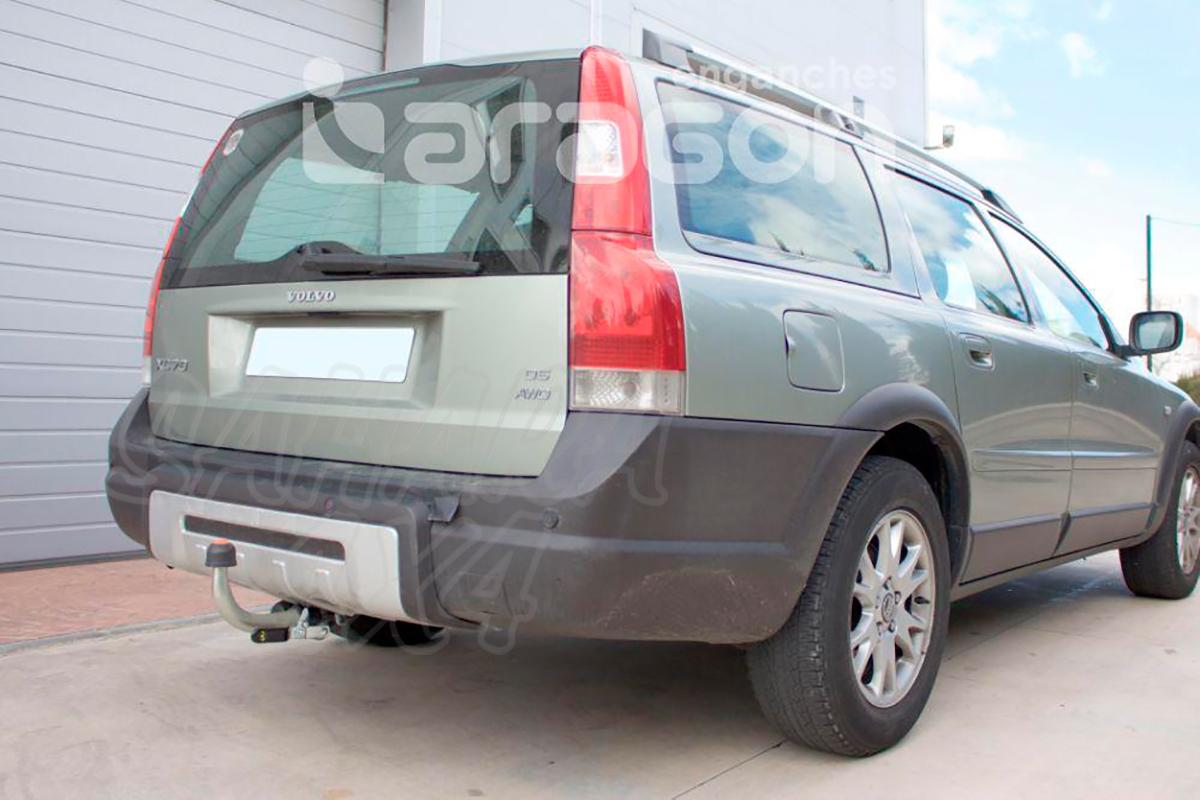
The Volvo V70, especially the 2000 model, is known for its reliability, comfort, and classic design. Over time, however, the upholstery on the rear seat back may show signs of wear and tear. Replacing this upholstery is an effective way to refresh the car’s interior without investing in new seats. This guide provides a step-by-step approach to replacing the upholstery on the rear seat back of a 2000 Volvo V70.
Tools and Materials Needed
Before starting, gather the following tools and materials:
- Replacement upholstery (matching or custom fabric/leather)
- Screwdrivers (flathead and Phillips)
- Trim removal tools
- Pliers
- Utility knife or scissors
- Upholstery adhesive
- Hog rings and hog ring pliers
- Needle and heavy-duty thread (if sewing is needed)
- Cleaning supplies (optional, for cleaning the seat frame)
Step-by-Step Instructions
- Remove the Rear Seat Back from the Vehicle
- Fold down the rear seat back to gain better access.
- Locate and remove any bolts or screws securing the seat back to the frame. These are typically at the base or on the sides of the seat.
- Carefully lift the seat back out of the vehicle. It may be heavy, so take your time to avoid straining or damaging any components.
- Detach the Existing Upholstery
- Lay the seat back on a flat surface with the upholstered side facing up.
- Use a flathead screwdriver or trim removal tool to pry off any plastic or metal clips holding the upholstery in place.
- If the upholstery is attached with hog rings (metal rings used to secure fabric to the frame), use hog ring pliers or regular pliers to unfasten them. Be cautious, as these rings can be sharp.
- Once all the rings or clips are removed, gently pull the upholstery away from the seat foam.
- Inspect and Prepare the Seat Frame
- Check the foam padding and seat frame for any signs of damage or wear. This is a good time to replace or repair the foam if necessary.
- Clean the frame to remove any debris or residue from the old upholstery adhesive.
- Cut and Prepare the New Upholstery
- Lay the new fabric or leather over the old upholstery as a template, or use the measurements to cut the new material accurately.
- Trim any excess fabric to avoid bunching when it’s attached to the seat back.
- Attach the New Upholstery
- Begin by securing the upholstery to the top of the seat back, working your way down.
- Use hog rings to fasten the fabric to the seat frame, or if applicable, reattach any plastic or metal clips. Ensure that each fastener is tight and evenly spaced for a smooth fit.
- For areas where adhesive is required, apply a thin, even layer to the frame or fabric, and press the material firmly in place. Let it dry according to the adhesive instructions.
- Trim and Finalize the Upholstery Installation
- Once the upholstery is secure, use a utility knife or scissors to trim any excess material.
- Check the edges for a clean fit and ensure that there are no wrinkles or loose spots.
- Reinstall the Seat Back into the Vehicle
- Carefully position the seat back in its original location.
- Reattach any bolts or screws to secure the seat to the frame.
- Test the seat by folding it up and down to ensure that the new upholstery is securely in place and doesn’t interfere with the seat’s movement.
Tips for a Professional Finish
- Heat Guns for Leather: If you’re using leather upholstery, a heat gun can help smooth out wrinkles.
- Proper Adhesive Application: Avoid using too much adhesive as it can seep through the fabric. A light, even layer is typically enough.
- Patience with Hog Rings: Hog rings can be tricky to handle, so take your time to ensure each one is secure and evenly spaced.
Final Thoughts
Replacing the rear seat back upholstery in a 2000 Volvo V70 can be a rewarding DIY project that revives the car’s interior. With the right tools and a bit of patience, you can achieve a factory-fresh look and extend the life of your Volvo’s upholstery.
FAQs
1. What tools do I need to replace the rear seat back upholstery?
You’ll need a set of screwdrivers, pliers, trim removal tools, hog ring pliers, a utility knife, and upholstery adhesive. Additional items include replacement upholstery material, hog rings, and cleaning supplies.
2. Where can I buy replacement upholstery for a 2000 Volvo V70
Replacement upholstery can be found at auto upholstery shops, online retailers, or even some salvage yards. Look for materials that match the original fabric or consider custom options for a unique look.
3. Can I reuse the old upholstery material
If the original upholstery is still in decent condition, you could reuse it by reattaching it. However, if it’s worn, ripped, or stained, replacing it is recommended for a fresh, clean look.
4. How difficult is it to replace the rear seat back upholstery myself
This project requires some patience, but it’s achievable with basic tools and a step-by-step approach. If you’re comfortable working with your hands, removing fasteners, and cutting fabric, it should be manageable.
5. Do I need to remove the entire seat back from the car?
Yes, it’s generally easier to remove the seat back from the car for better access. This will help you remove the old upholstery and attach the new material more efficiently.
6. What are hog rings, and are they necessary?
Hog rings are metal rings used to secure upholstery to the seat frame. They are necessary for a tight, secure fit and are typically found on automotive upholstery projects.
7. Can I use adhesive alone to secure the upholstery?
While adhesive can be used to help hold the fabric, it’s recommended to use hog rings or clips where possible, as they provide stronger and longer-lasting support, especially on seat backs.
8. How do I ensure there are no wrinkles in the upholstery?
Start securing the fabric from the top, working your way down. Pull the fabric taut and evenly as you go, securing it with hog rings or clips to prevent wrinkles.
9. Can I use a heat gun on leather upholstery?
Yes, a heat gun can help smooth out wrinkles on leather. However, be cautious with the heat to avoid damaging or warping the material
10. How long does it take to replace the upholstery on the rear seat back?
The process may take 2-3 hours, depending on experience and the type of upholstery. Allow extra time if you’re working with delicate materials or want a more meticulous finish.
11. What should I do if my seat foam is damaged?
If the seat foam is damaged, consider replacing or adding foam padding before applying the new upholstery. This will improve comfort and give a professional look to the finished seat.
12. Are there any safety precautions I should take?
Use caution when working with hog rings, sharp tools, and adhesives. Always wear gloves if needed, and keep the adhesive in a well-ventilated area.
13. Can I clean the seat frame before adding new upholstery
Yes, cleaning the seat frame will help the adhesive bond better and remove any dust or debris that may interfere with the upholstery process.
14. Will this upholstery replacement affect the seat’s functionality?
If installed correctly, replacing the upholstery should not affect the seat’s ability to fold or function. Test the seat’s movement after reinstalling to ensure everything is secure.
15. How can I maintain the new upholstery once installed?
Regularly vacuum and clean the upholstery using appropriate cleaners for the material. For leather, condition it every few months to maintain its flexibility and prevent cracking.


